
Plan RestrictedCompany level webhooks require a Gourmet plan or higher.
Company are able to manage their webhooks via the webapp. To create, edit or delete webhhoks, as an Admin, navigate to Company settings > Developer Tools > Webhooks tab.
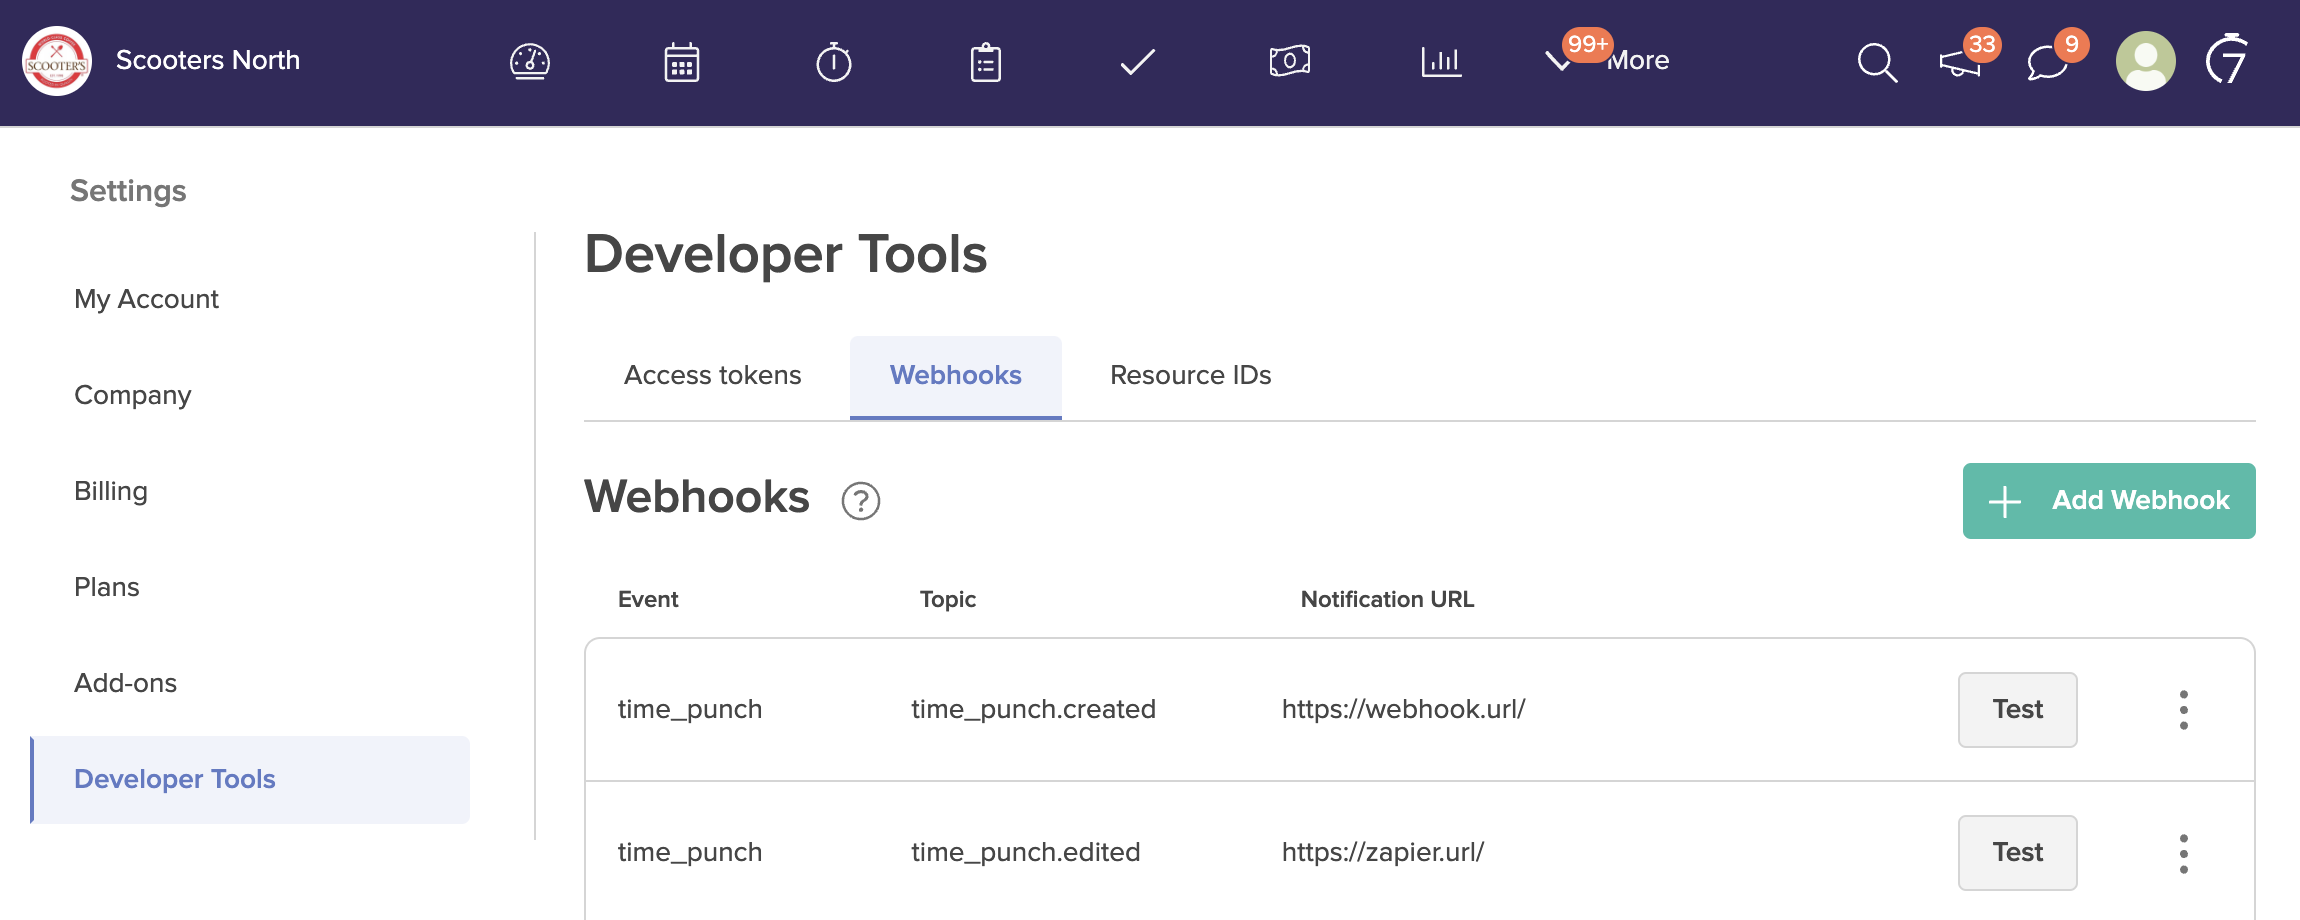
To create a webhook click the + Add Webhook button and specify:
- Event: The specifying the high level entity the webhook will trigger on as user, time punch or authorization
- Topic: For each event there are specific topics, or actions that will trigger the webhook. For example for users topics are created, modified, deactivated and reactivated.
- Notification URL: The URL your app or service will receive the webook on. For example you can use a service such as
[webhook.site](https://webhook.site/)to test receiving webhooks.
It is recommend that before you add a webhook your application receiving the notification is functional. The service should acknowledge the webhook as soon as possible and return a 2xx HTTP response. We do not recommend processing the notification or doing complex logic at the same time that can cause a delayed response or a timeout. Delays or timeouts can result in delayed delivery of subsequent webhooks.
Once a webhook has been created you can use the Test button to send a sample payload to your webhook. The test will send a valid structured payload but will include invalid values for your company. If you require valid data for your testing you'll need to trigger a webhook via it's intended topic (action), such as creating a new user ortime punch, publishing a schedule, etc.